Prerequisite knowledge: Linux, SSH, SSL, Docker, Nginx, HTTP, DNS
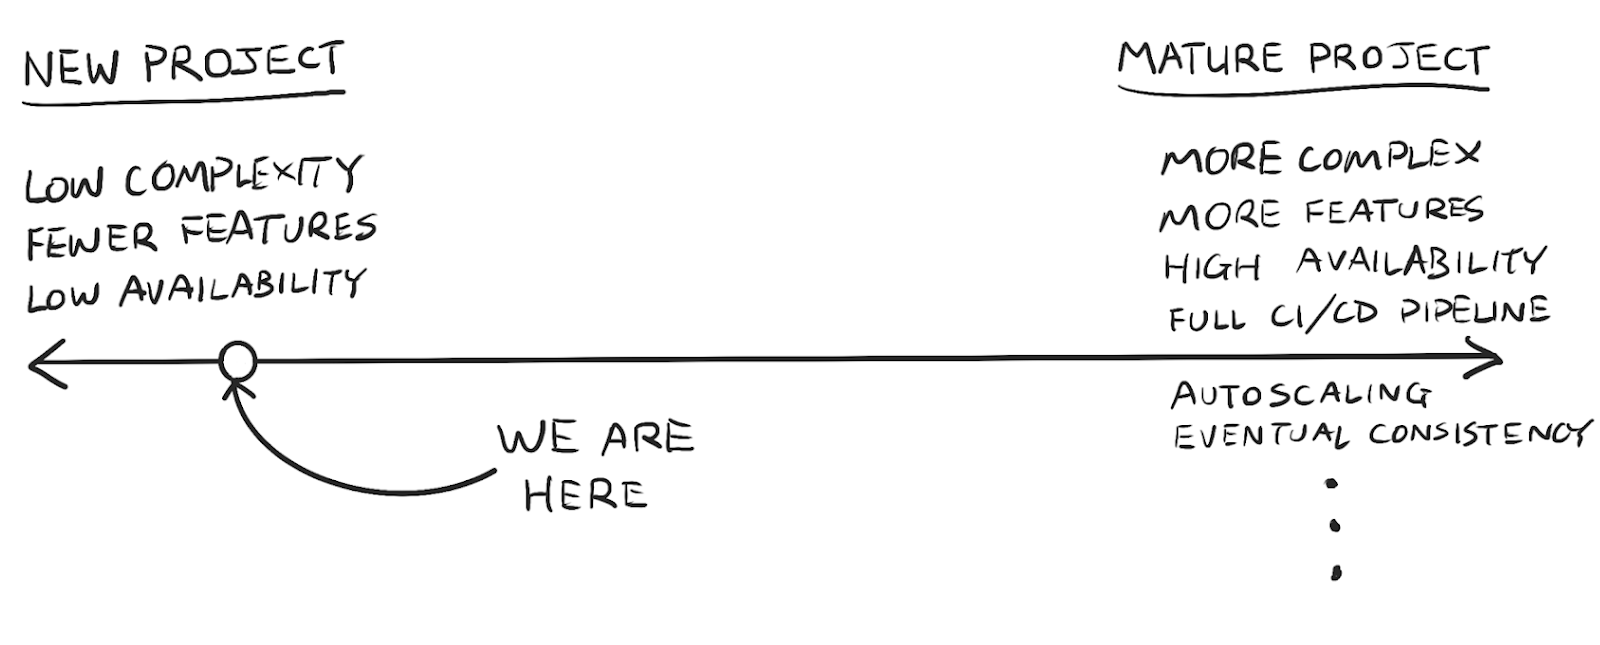
What kind of infrastructure do we need for new projects? I would prioritize simplicity, flexibility, value, and on-demand capacity. For new web-based projects, I find myself quickly needing the following features:
- DNS configuration
- SSL support
- Subdomain to a service
- SSL reverse proxy to localhost (similar to ngrok and serveo)
- Automatic deployment after a commit to the source repo (nice to have)
Amazon Lightsail is perfect for building a simple “Pocket Platform” that provides all these features. It’s cheap and easy for beginners, and provides a friendly interface for managing virtual machines and DNS. Let’s assemble our Pocket Platform together on Lightsail, step-by-step.
If you prefer to follow along with videos instead: part 1, part 2, part 3
Domain Name & Static IP
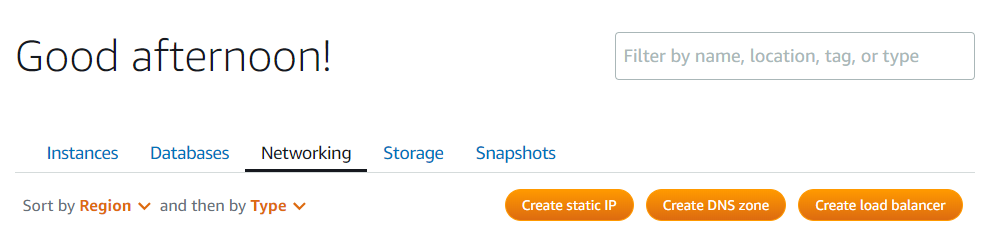
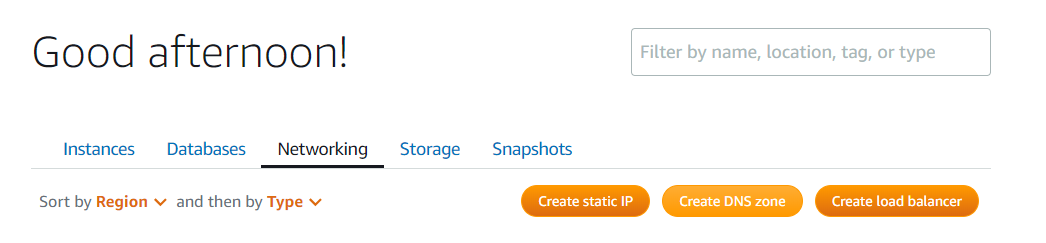
First, we’ll need a domain name for our project. You can register your domain with any domain name registration service, such as Amazon Route53. Once your domain is registered, open the Lightsail console, click the Networking tab and click Create static IP:
Give it a name you can remember and don’t worry about attaching it to an instance just yet. Next, click “Create DNS Zone”:
On the Create a DNS zone page, enter your domain name, and click Create DNS zone. For the remainder of this guide, I’m using one of my domains “raccoon.news”.
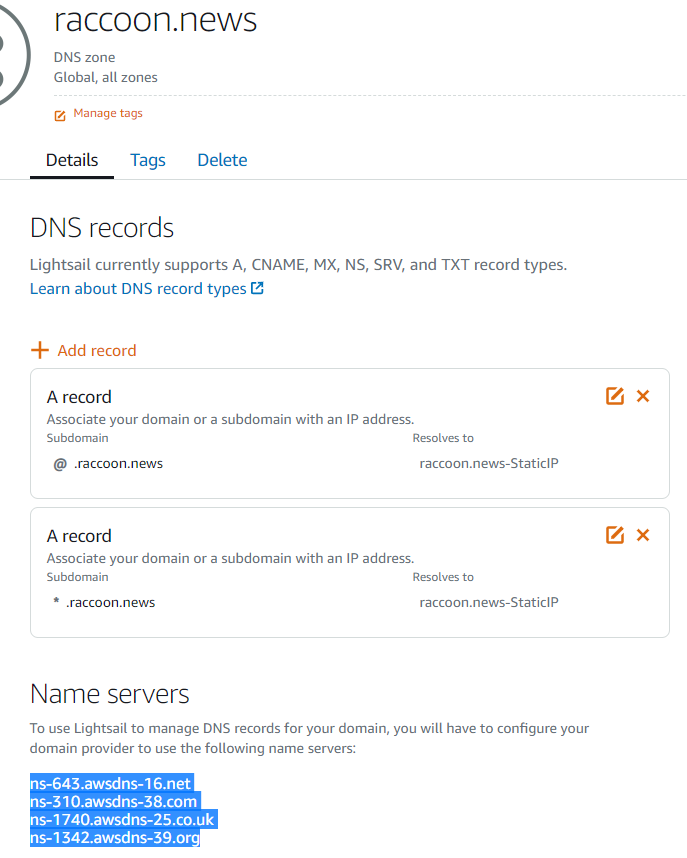
Create two A records, “@.raccoon.news” and “dev.raccoon.news”, both resolving to the static IP address you created earlier. Then copy the values for the Lightsail name servers at the bottom of the page. Go back to your domain name provider, and edit the name servers to point to the Lightsail name servers. Since I registered my domain with Route53, here’s what it looks like:

Note: if you registered your domain with Route53, make sure you are changing the name server values under “domain registration”, not hosted zones. In fact, if you registered your domain with Route53, you’ll need to delete the hosted zone that Route53 automatically creates for your domain.
While we wait for our DNS changes to propagate, let’s set up our Lightsail instance.
Basic Server Setup
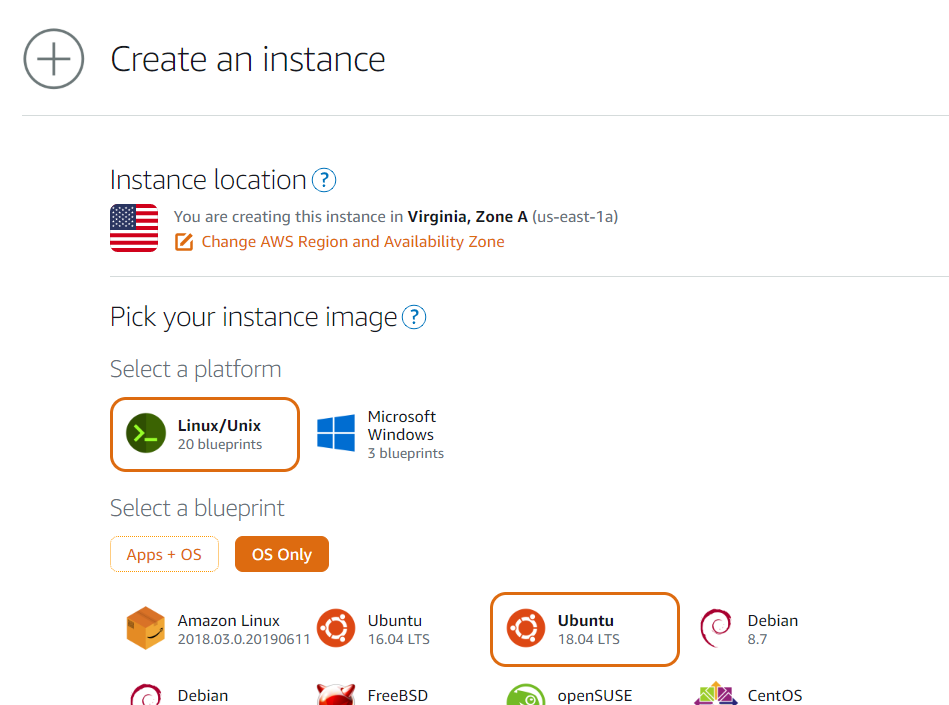
In the Lightsail console, create a new instance and select Ubuntu 18.04. For the purposes of this guide, you can use the cheapest instance, but once you’re running anything in production, choose an instance that has enough capacity for your workload.
Once the instance has launched, select manage and open two additional TCP ports: 443 and 2222. Then, under instance/networking, attach the static IP we allocated earlier.

In order to connect to the Lightsail instance with SSH, download the SSH key, and save it to a friendly filepath, for example: ~/ls_ssh_key.pem

Restrict permissions for your SSH key:
chmod 400 ~/ls_ssh_key.pem
SSH to the instance using:
ssh -i ls_ssh_key.pem ubuntu@STATIC_IP
Once we’re connected to the instance install Docker to help us manage deployment and configuration:
sudo apt-get update && sudo apt-get install docker.io -y
sudo systemctl start docker
sudo systemctl enable docker
docker run hello-world
After docker is installed, we're going to set up a gateway using called the nginx-proxy container. This container lets us route traffic to other containers by providing the “VIRTUAL_HOST” environment variable. Conveniently, nginx-proxy comes with an SSL companion, nginx-proxy-letsencrypt, which uses Let’s Encrypt.
# start the reverse proxy container
sudo docker run --detach \
    --name nginx-proxy \
    --publish 80:80 \
    --publish 443:443 \
    --volume /etc/nginx/certs \
    --volume /etc/nginx/vhost.d \
    --volume /usr/share/nginx/html \
    --volume /var/run/docker.sock:/tmp/docker.sock:ro \
    jwilder/nginx-proxy

# start the letsencrypt companion
sudo docker run --detach \
    --name nginx-proxy-letsencrypt \
    --volumes-from nginx-proxy \
    --volume /var/run/docker.sock:/var/run/docker.sock:ro \
    --env "DEFAULT_EMAIL=YOUREMAILHERE" \
    jrcs/letsencrypt-nginx-proxy-companion

# start a demo web server under a subdomain
sudo docker run --detach \
    --name nginx \
    --env "VIRTUAL_HOST=test.EXAMPLE.COM" \
    --env "LETSENCRYPT_HOST=test.EXAMPLE.COM" \
    nginx
Pay special attention to setting a valid email for the DEFAULT_EMAIL environment variable on the proxy companion or else you will need to specify the email whenever you start a new container. If everything went well, you should be able to navigate to https://test.EXAMPLE.COM and see the nginx default content with a valid SSL certificate that has been auto-generated by Let’s Encrypt:

Troubleshooting:
- Make sure Port 443 open in the Lightsail console
- Let’s encrypt rate limiting: https://letsencrypt.org/docs/rate-limits/
Localhost Proxy with SSL

Most developers prefer to code on a dev machine (laptop or desktop) because they can access the file system, use their favorite IDE, recompile, debug, and more. Unfortunately, developing on a dev machine can introduce bugs due to differences from the production environment. In addition, certain services (e.g. Alexa Skills, GitHub Webhooks) require SSL in order to work, which can be annoying to configure on your local machine. We can use an SSL reverse proxy to make our local dev environment resemble production from the browser’s point of view. This technique also helps allow our test application to make API requests to production endpoints with Cross-Origin Resource Sharing restrictions. While it’s not a perfect solution, it takes us one step closer toward a frictionless dev/test feedback loop.
You may have used services like ngrok and serveo for this purpose. By running a reverse proxy ourselves, we won’t need to spread our domain and SSL settings across multiple services.
To run a reverse proxy, we’ll create an SSH reverse tunnel. Once the reverse tunnel SSH session is initiated, all network requests to the specified port on the host will be proxied to our dev machine. However, since our Lightsail instance is already using port 22 for VPS management, we need a different SSH port (2222 from above). To keep everything organized, we'll also run the SSH server for port 2222 inside a special proxy container. Here’s a diagram:

Using Dockerize an SSH service as a starting point, I’ve created a repository with a working Dockerfile and nginx config for reference. Here are the summary steps:
git clone https://github.com/robzhu/nginx-local-tunnel
cd nginx-local-tunnel

docker build -t {DOCKERUSER}/dev-proxy . --build-arg ROOTPW={PASSWORD}

# start the proxy container
# Note, 2222 is the port we opened on the instance earlier.
docker run --detach -p 2222:22 \
    --name dev-proxy \
    --env "VIRTUAL_HOST=dev.EXAMPLE.com" \
    --env "LETSENCRYPT_HOST=dev.EXAMPLE.com" \
    {DOCKERUSER}/dev-proxy

# Ports explained:
# 3000 refers to the port that your app is running on localhost.
# 2222 is the forwarded port on the host that we use to directly SSH into the container.
# 80 is the default HTTP port, forwarded from the host
ssh -R :80:localhost:3000 -p 2222 root@dev.EXAMPLE.com

# Start sample app on localhost
cd node-hello && npm i
nodemon main.js

# Point browser to https://dev.EXAMPLE.com
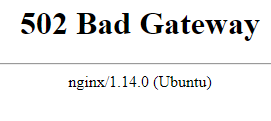
The reverse proxy subdomain will only work as long as the reverse proxy SSH connection remains open. If there is no SSH connection, you should see an nginx gateway error:
While this solution is handy, be extremely careful as it could expose your work-in-progress to the internet. Consider adding additional authorization logic and settings for allowing/denying specific IPs.
Automatic Deployment
Finally, let’s build an automation workflow that watches for commits on a source repository, builds an updated container image, and re-deploys the container on our host. There are many ways to do this, but here’s the combination I’ve selected for simplicity:
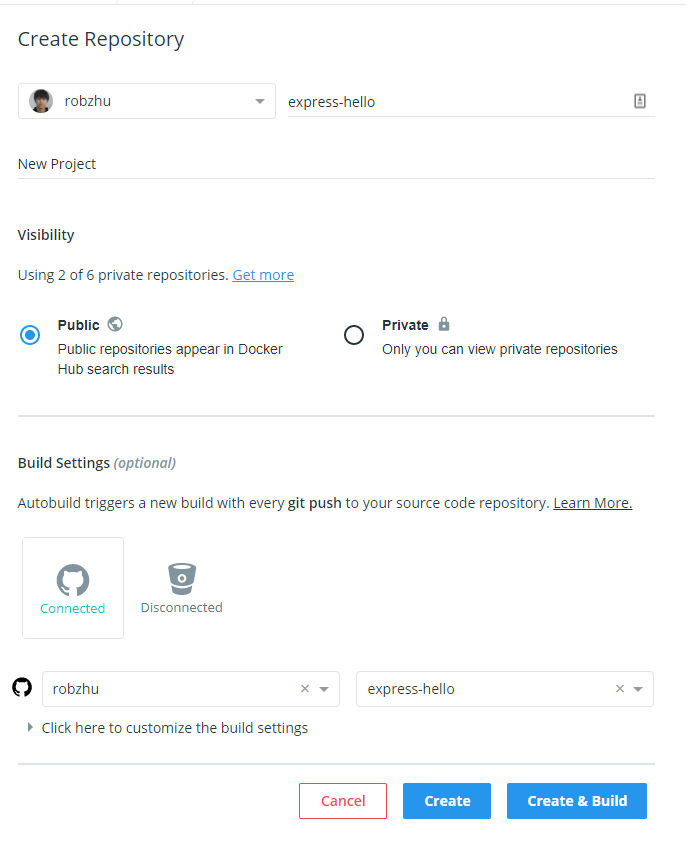
First, create a GitHub repository that will host your application source code. For demo purposes, you can clone my express hello-world example. On the docker hub page, create a new repository, click the GitHub icon, and select your repository from the dropdown:
Now docker will watch for commits to the repo and build a new image with the “latest” tag in response. Once the image is available, start the container like so:
docker run --detach \
    --name app \
    --env "VIRTUAL_HOST=app.raccoon.news" \
    --env "LETSENCRYPT_HOST=app.raccoon.news" \
    robzhu/express-hello
Lastly, let’s use Watchtower to poll dockerhub and update the “app” container whenever a new image is detected:
docker run -d \
    --name watchtower \
    -v /var/run/docker.sock:/var/run/docker.sock \
    containrrr/watchtower \
    --interval 10 \
    APPCONTAINERNAME
Summary
Our Pocket PaaS is now complete! As long as we deploy new containers and add the VIRTUAL_HOST and LETSENCRYPT_HOST environment variables, we get automatic subdomain routing and SSL termination. With SSH reverse tunneling, we can develop on our local dev machine using our favorite IDE and test/share our app at https://dev.EXAMPLE.COM. And since it’s a public URL with SSL, we can test Alexa Skills, GitHub Webhooks, CORS settings, PWAs, and anything else that requires SSL. Once we’re happy with our changes, a git commit will trigger an automated rebuild of our docker image, which gets automatically redeployed by Watchtower.

I hope this was useful. Thoughts? Leave a comment or direct-message me on twitter: @rbzhu.