Minecraft is the perfect game to play with your family and friends this holiday season. And what better way to connect with your family and friends than building your own Minecraft server - it’s so easy even your kids can help. In this post, I will take you through the step-by-step instructions on how to set up a dedicated Minecraft server on Amazon Lightsail. I promise, it's a lot easier and cheaper than you think!
1) Launch your Lightsail Instance
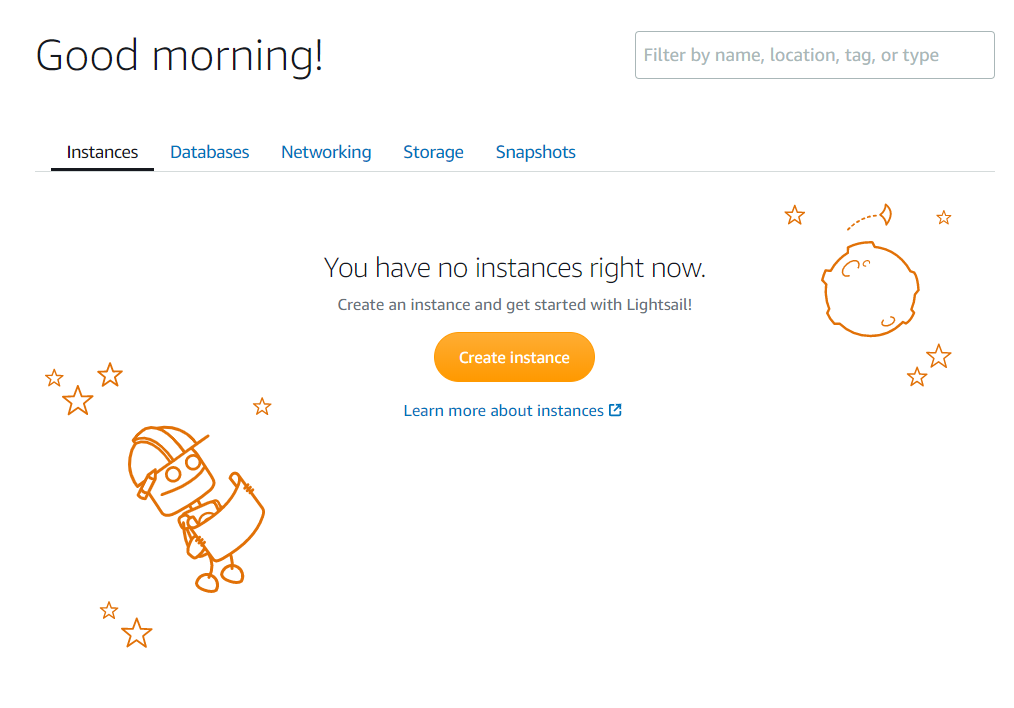
Open the Lightsail Console and click “Create Instance”.
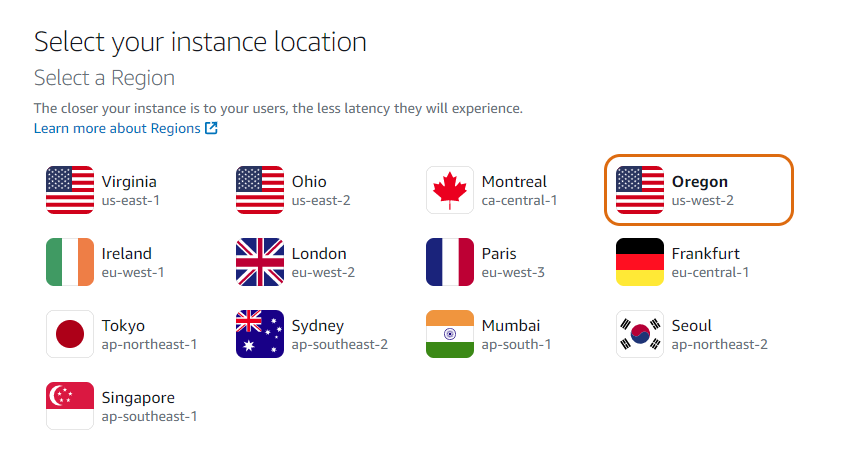
Select the closest region to you so that you have good latency when playing:
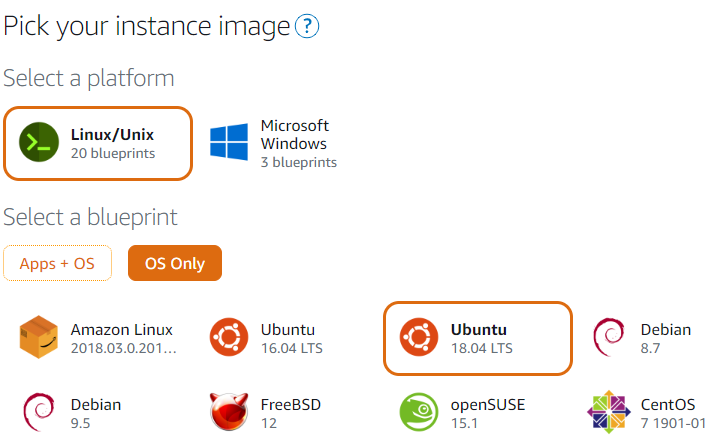
Select Ubuntu and the $5/month instance plan:
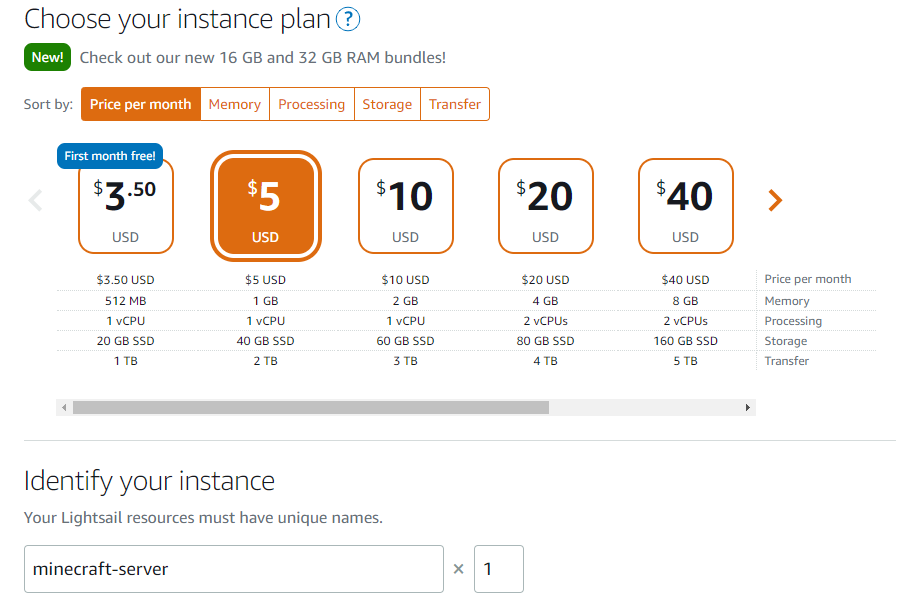
Double-check everything and then click “Create Instance”

2) Configure & Connect to your Server
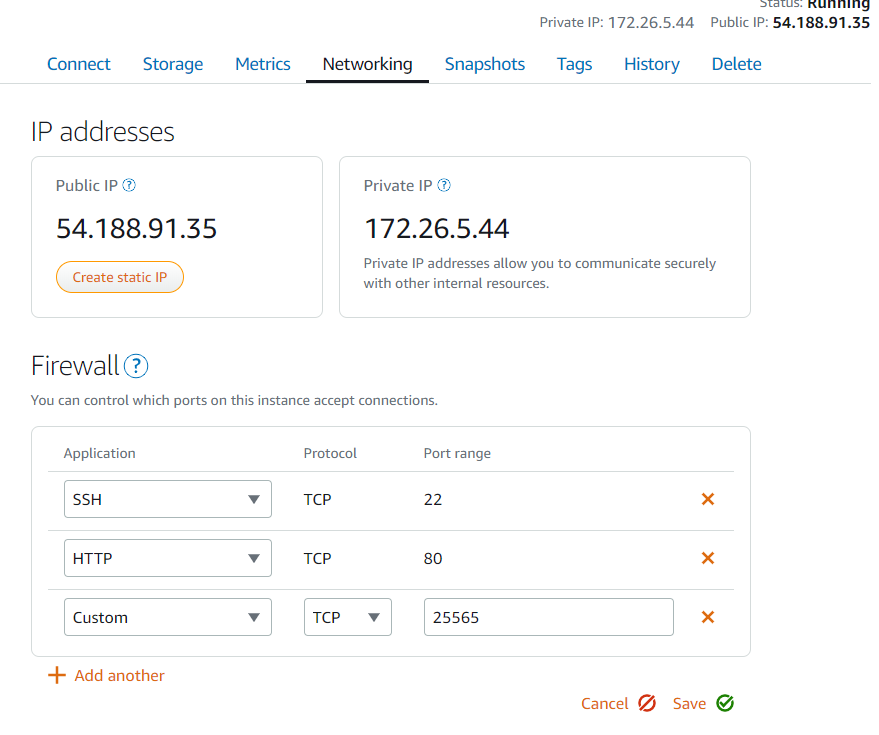
Once your server is ready, select it, click the “Networking” tab, and add a firewall rule to allow port 25565 (this is the default port used by the Minecraft network protocol).
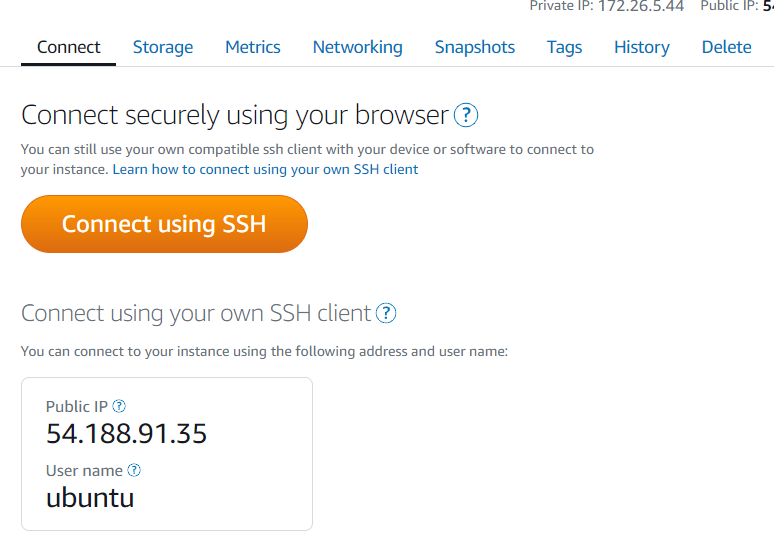
Now connect to your Lightsail instance using the “Connect using SSH” button under the connect tab:
This will open a browser popup with a browser window for you to run commands on your Lightsail instance. Once connected, run:
sudo apt -y update && sudo apt -y install default-jre screen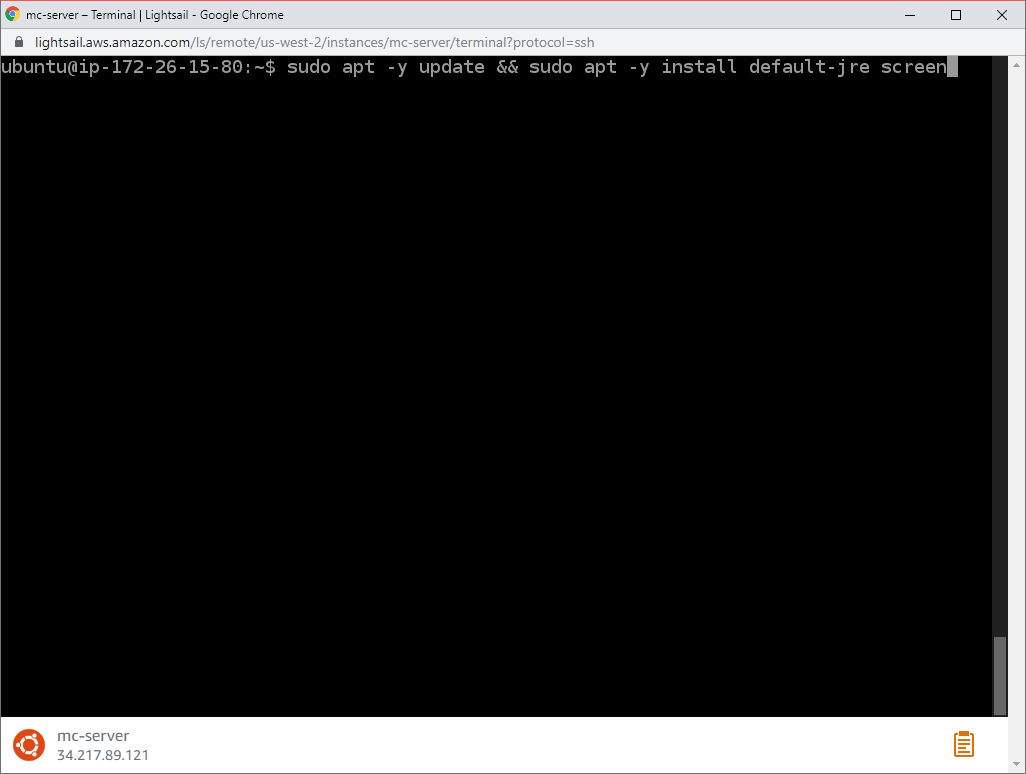
3) Install and run Minecraft Server
# screen will keep running Minecraft after we disconnect SSH
screen

# Create a directory to hold the Minecraft files:
sudo mkdir /usr/games/minecraft
cd /usr/games/minecaft

# Visit https://www.minecraft.net/en-us/download/server
# Download the server jar file
sudo wget -O mcserver.jar https://launcher.mojang.com/v1/objects/4d1826eebac84847c71a77f9349cc22afd0cf0a1/server.jar

# Run the minecraft server:
sudo java -Xmx1G -Xms1G -jar mcserver.jar nogui
The first time you try to start the Minecraft server, it will display an error indicating that you must accept the EULA:

In order to accept the EULA, we need to write “eula=true” to the contents of eula.txt, but since this file is owned by root, we need to change ownership first:
# change ownership of eula.txt
sudo chown ubuntu eula.txt

# accept the EULA
echo “eula=true” > eula.txt

# re-run the Minecraft server command
sudo java -Xmx1G -Xms1G -jar mcserver.jar nogui
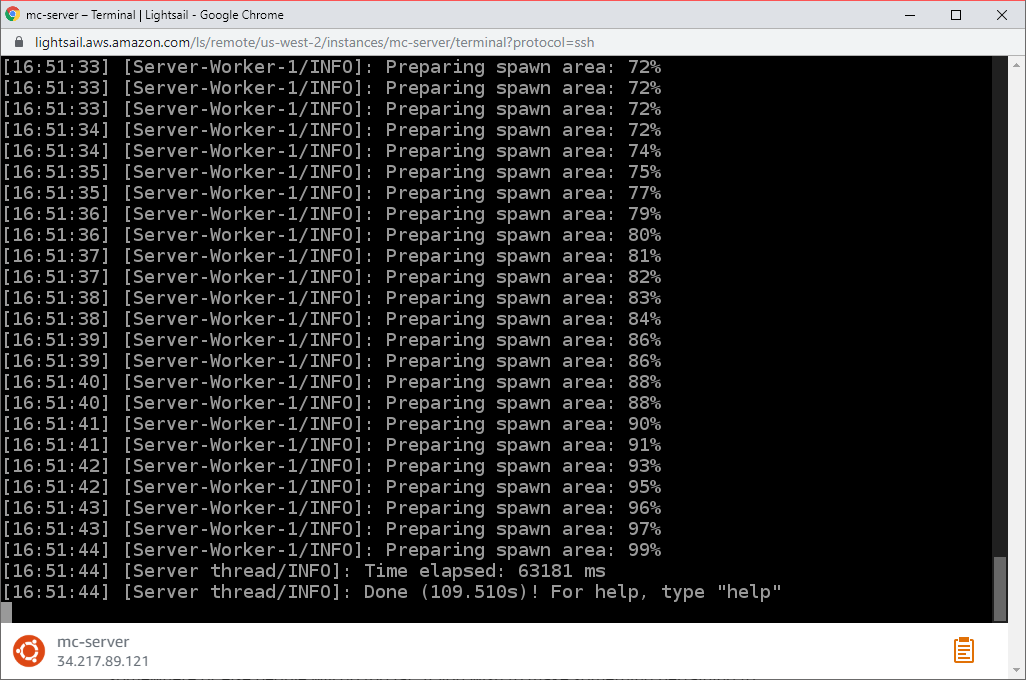
Monitor the console for any errors. If everything goes well, here’s what you should see:
Once the Minecraft server is up and running, if you need to run other commands in your SSH session without stopping the server, exit screen by pressing “CTRL+A” and then “d”.
Next time you connect to your Lightsail instance, you’ll be greeted with an empty bash prompt. Don’t worry, your server is probably running within a screen session. To list the active screen sessions, run “screen -ls”. In the output, each line begins with the ID of the session. If you only have a single screen session, you can connect to it by running “screen -r”. If there are multiple sessions, you will need to run “screen -r <ID>” where ID is the session ID.
4) Connect your Minecraft Client
In the Lightsail console, note the IP Address of you server. Launch the Minecraft client and enter the IP address in the Multiplayer/server:
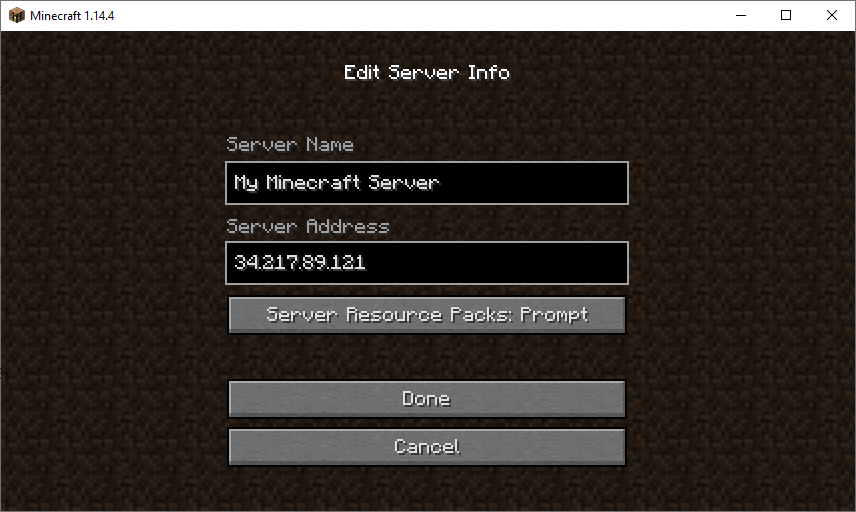
If you have trouble adding your server, double check the IP address and make sure port 25565 is open in Step 1.
Now you can share your server IP Address with your friends and family and enjoy a fast, reliable private Minecraft Server!
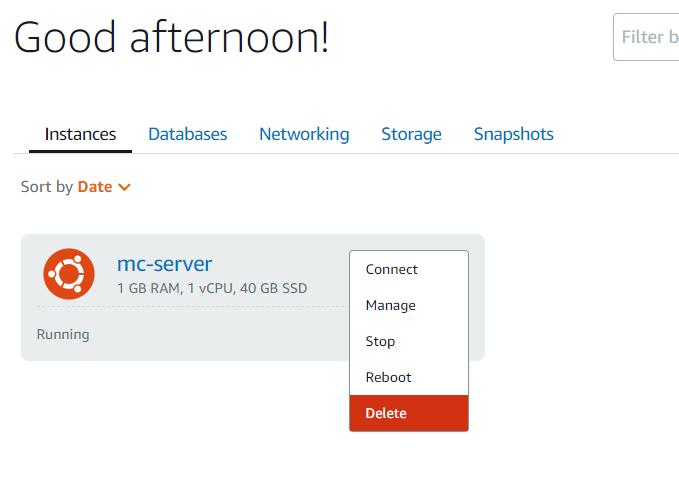
5) Cleanup
When you’re done with your Minecraft server for good, remember to shut it down to avoid paying ongoing fees for your instance.
6) Bells and Whistles
Here are some ideas if you want to take your Minecraft server administration to the next level: